Creating a new user
This page provides an overview of user creation functionality on the Client Portal
Creating a new user
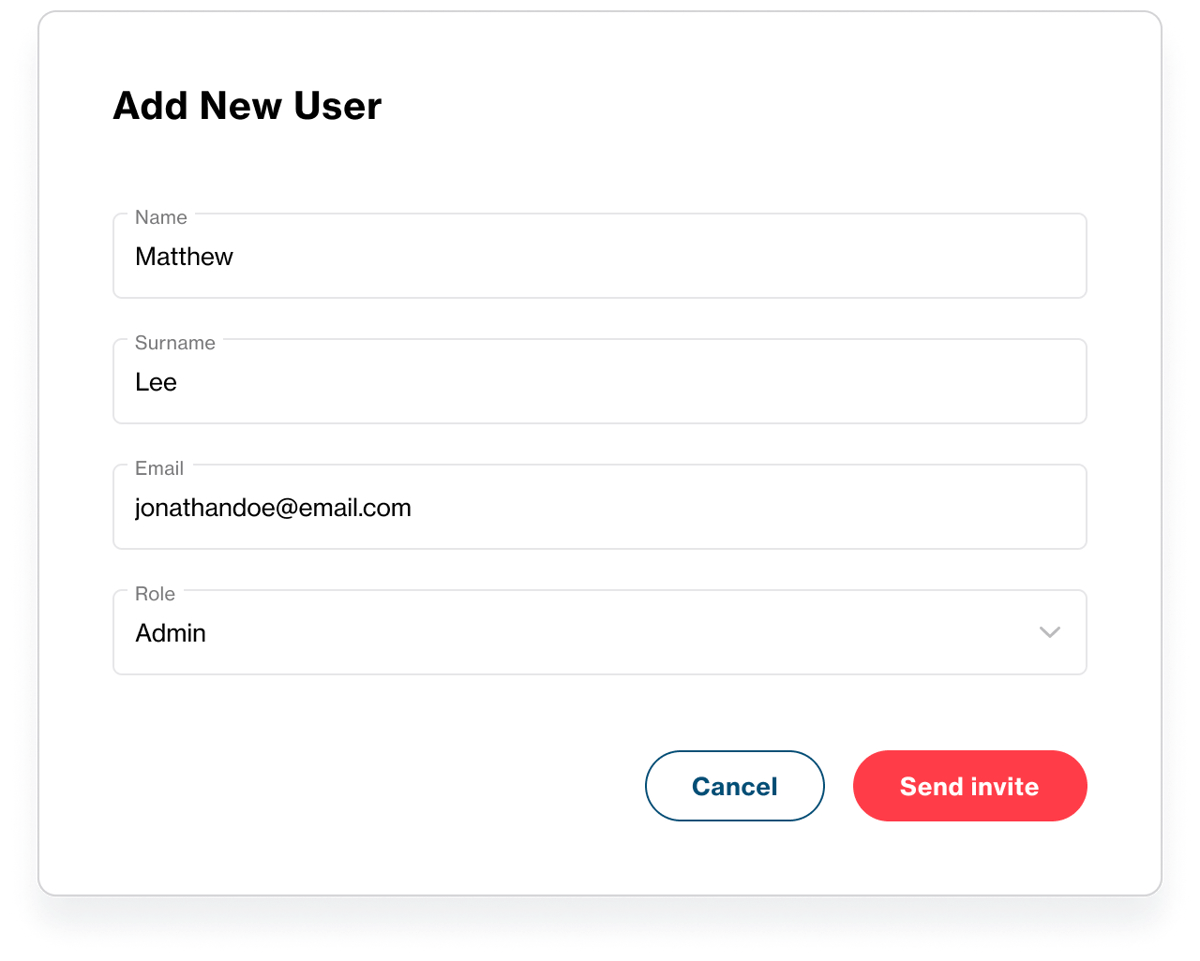
To create a new user, navigate to the user management overview screen and click the '+ New User' button at the top of the screen. Note that only users with Super Admin or Admin roles are able to add new users. User roles are defined in the User roles defined page.
On clicking the '+ New User' button, provide the details requested on the 'Add New User' popup (first name, surname, email address and the role to be assigned to the new user) and click 'Send invite' to send an email to the new user with a link to accept the invitation to your organisation, and complete their registration.

Upon receipt of this invitation email, the new user will be required to click on the link provided in the email which will take them to the log-in screen where they will be required to set a new password. Once they've set their password, they can use it to log-in and set up 2 factor authentication (2FA) using their preferred authentication application (e.g. Google Authenticator, Microsoft Authenticator etc.) to complete their registration for the Client Portal.
In order to create a Super Admin user (either by creating a new user, or updating an existing user’s role to Super Admin), please raise this request to Orbital’s customer service team or your Relationship Manager. Once raised, Orbital’s team will provide guidance on the process for creating/assigning a new user with the Super Admin role.
Updated 7 months ago