
How to Whitelist IP Address (IP Allow List)
The IP Allow List restricts access to your account and APIs to a trusted set of IP addresses. By limiting access, you reduce the risk of unauthorized requests even if your credentials were compromised.
Before you Begin
- You need to find your current public IP, go to https://www.ipaddress.my/ or search "What is my IP address?" in a browser
- For best results, use a static IP. If your IP changes frequently (dynamic IP), you 'll need to update the allow list whenever it changes.
These configurations are tied to your currently selected entity. To manage the allow list for another entity, switch using the dropdown at the top of the page.
Add a New IP Address
- Go to eCommerce > Configurations > IP Allow List and click on the Add IP Address button.
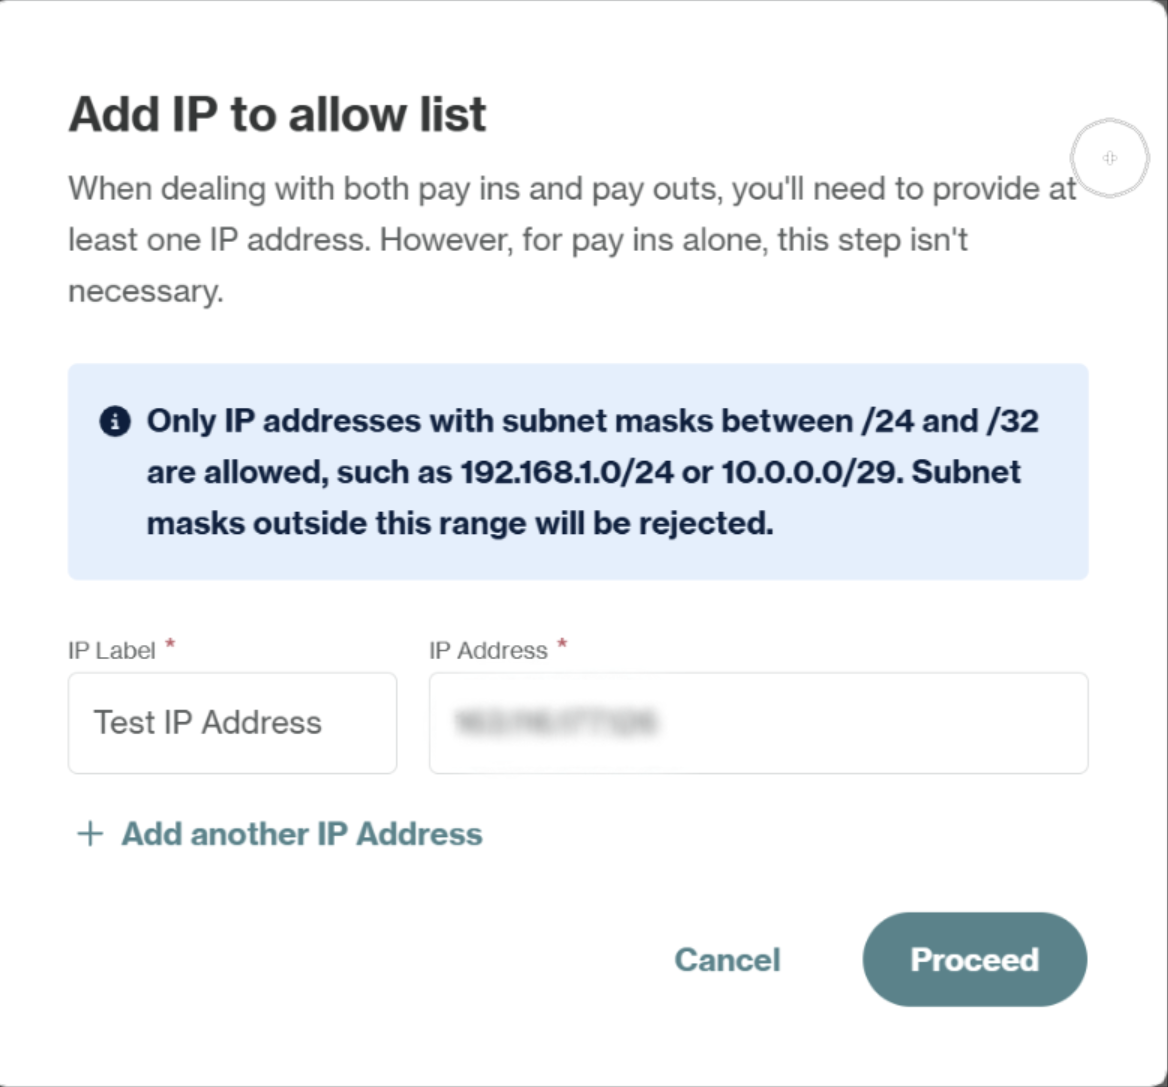
- On the modal, enter the details for your:
- IP Label: A descriptive name to help identify it later (e.g. Main Office, Production Server).
- IP Address: The address you want to allow. IPv4, IPv6, and CIDR ranges between
/24and/32are supported (e.g. 54.72.110.0/24).
- Click Proceed to confirm the entry.
Manage Your Allowed IPs
The IP Allow List tab displays all the IP addresses you have added, along with the labels you assigned to them. From here you can:
- Edit the label of an existing IP.
- Remove an IP that should no longer have access.

By adding trusted IPs to your allow list, you ensure that only approved networks can access your APIs.
Updated 7 months ago
Did this page help you?